Buy Travertine Tiles: Create Elegant and Timeless Floors with Natural Stone Beauty

Choosing the right flooring can be daunting, with concerns over cost, durability, and style.
Many materials either wear down quickly or fail to provide that timeless aesthetic, leaving homeowners frustrated and spaces feeling outdated.
Travertine tiles offer a solution that combines elegance with resilience. This natural stone not only enhances the beauty of any room but also withstands the test of time. Investing in travertine floors ensures a blend of luxury and practicality, making them an ideal choice for those seeking to elevate their home’s interior.
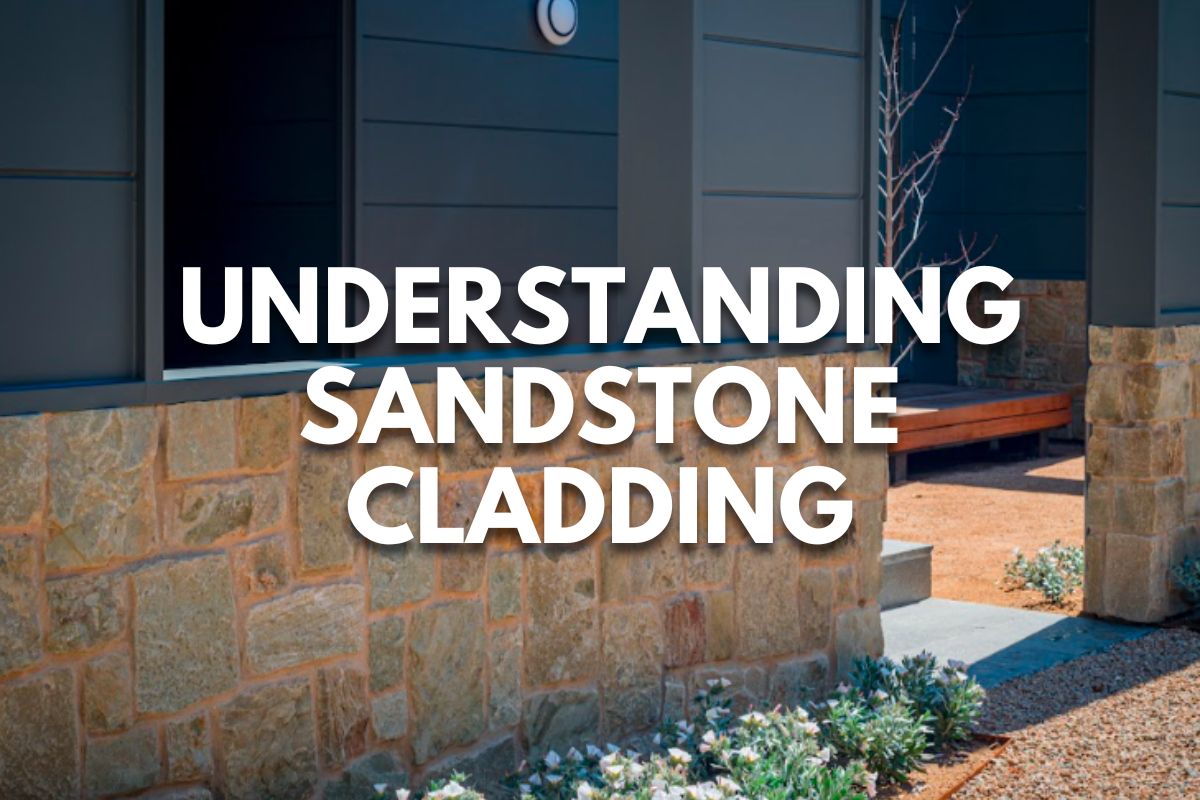
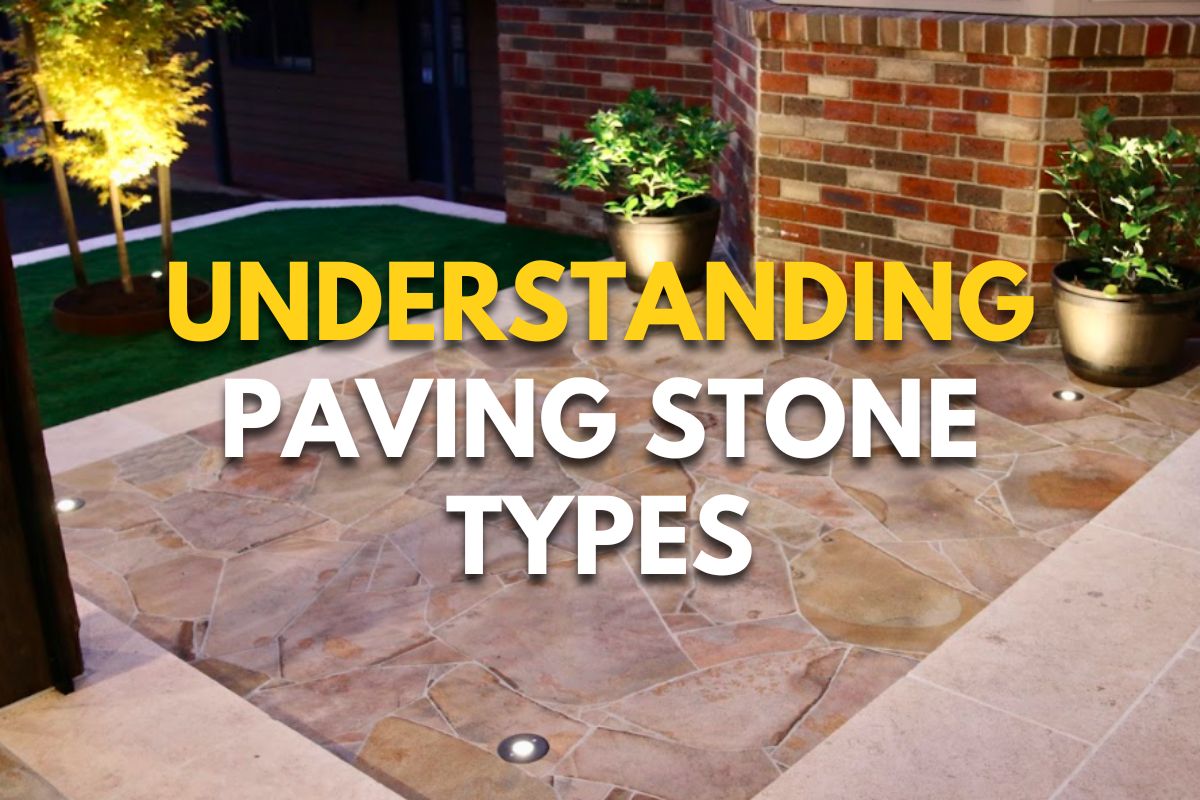
Understanding Travertine Tiles
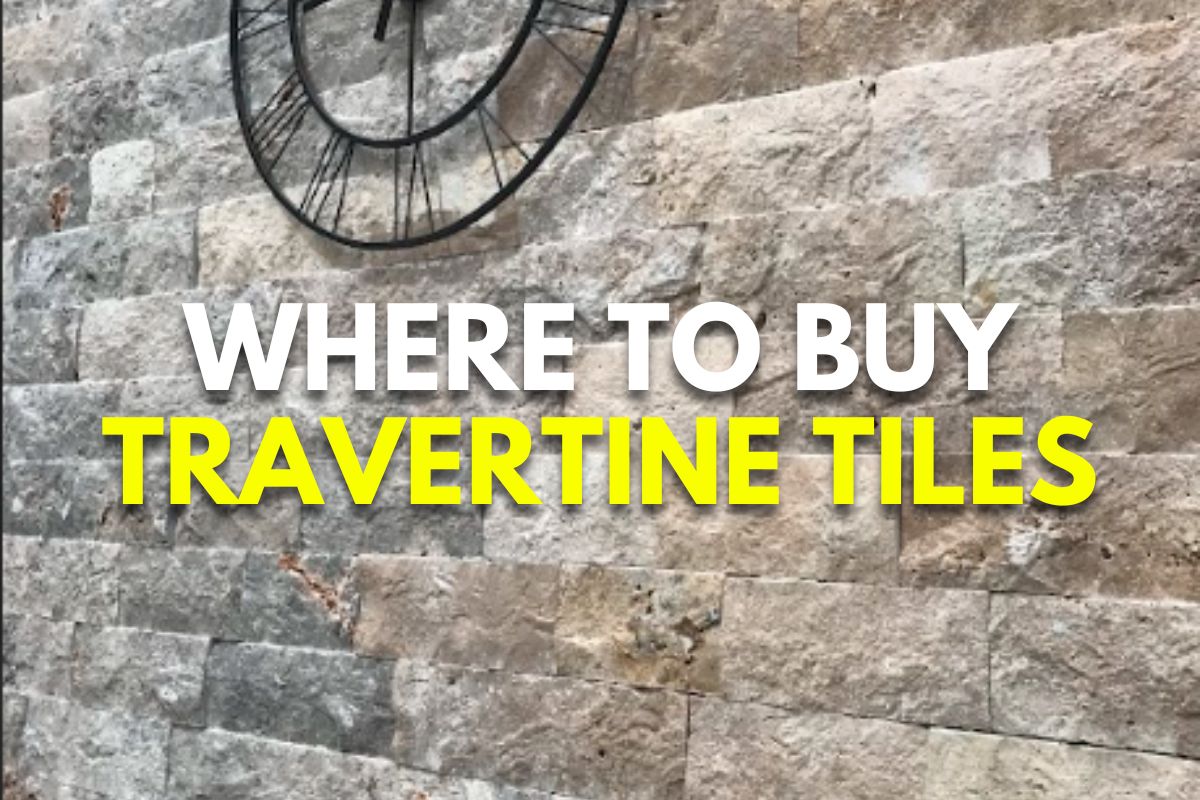
- Composition and Origin: Travertine is a type of limestone formed by mineral deposits from hot springs. Its porous structure provides a unique, textured look, enhancing natural aesthetics.
- Color Variations: The color palette ranges from white and cream to tan and rusty brown, influenced by the iron content and other impurities during formation.
- Durability: Though softer than granite or marble, travertine tiles are robust enough to withstand moderate to heavy foot traffic, making them ideal for both residential and commercial settings.
- Common Uses: Popularly used in bathrooms, kitchens, and outdoor areas like patios due to their grippy texture.
- Finishes Available:
- Polished: Glossy and reflective.
- Honed: Smooth with a matte finish.
- Brushed: Emphasizes natural texture.
- Tumbled: Offers a weathered, antique look.
- Design Flexibility: Easily cut and shaped, travertine is favored for unique layouts and designs in architectural and design projects.
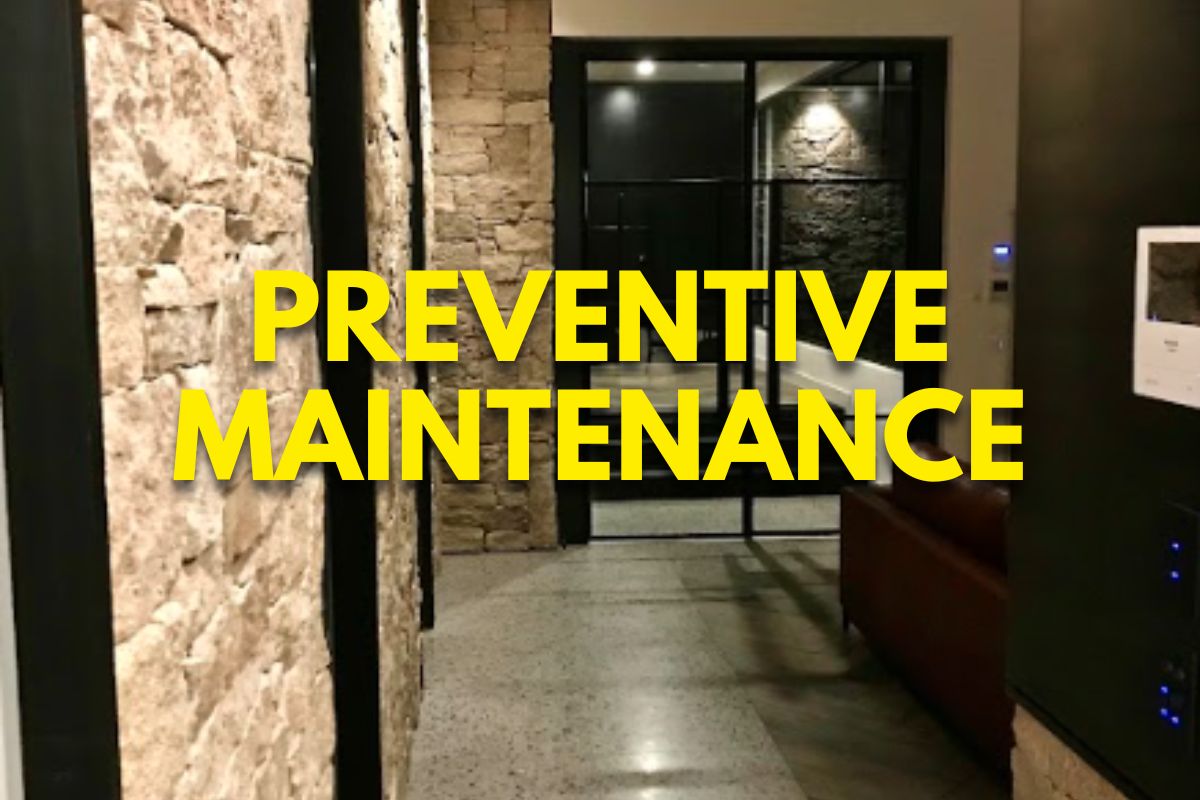
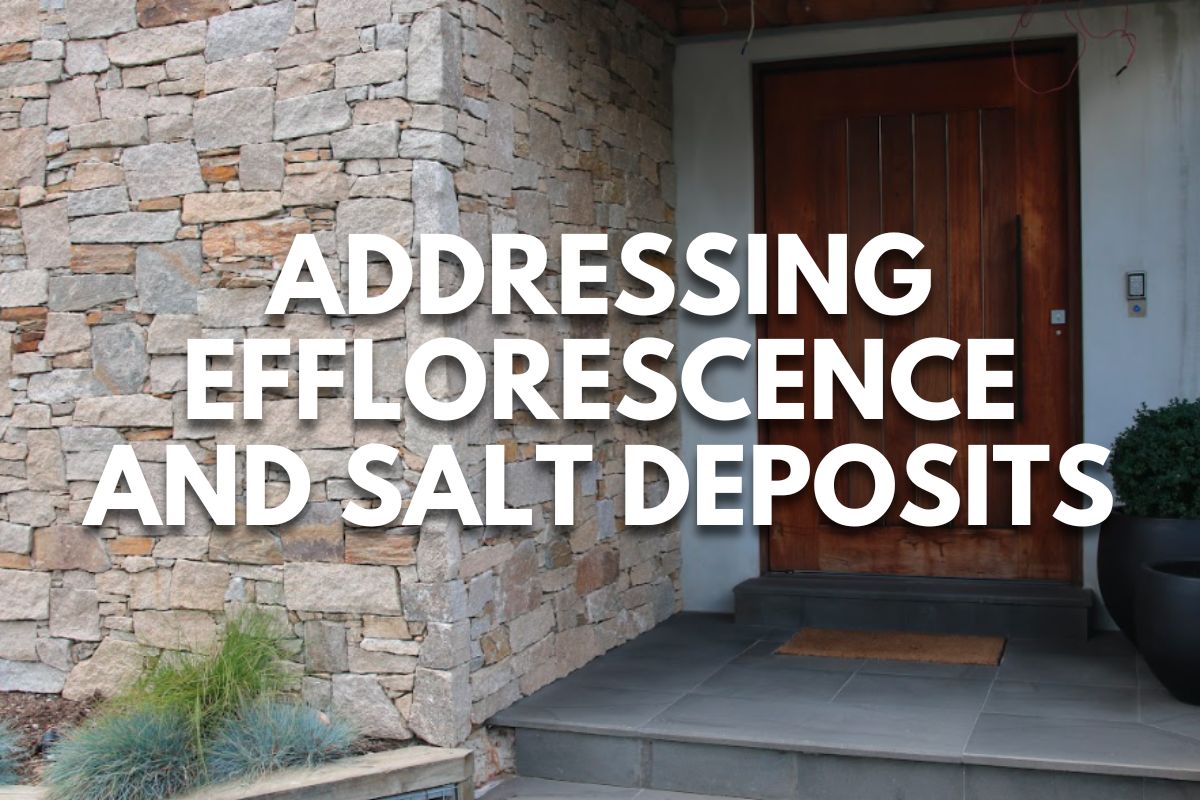
- Maintenance: Requires sealing to prevent stains and water damage. Regular maintenance includes filling holes to maintain appearance and durability.
Benefits of Travertine Tiles
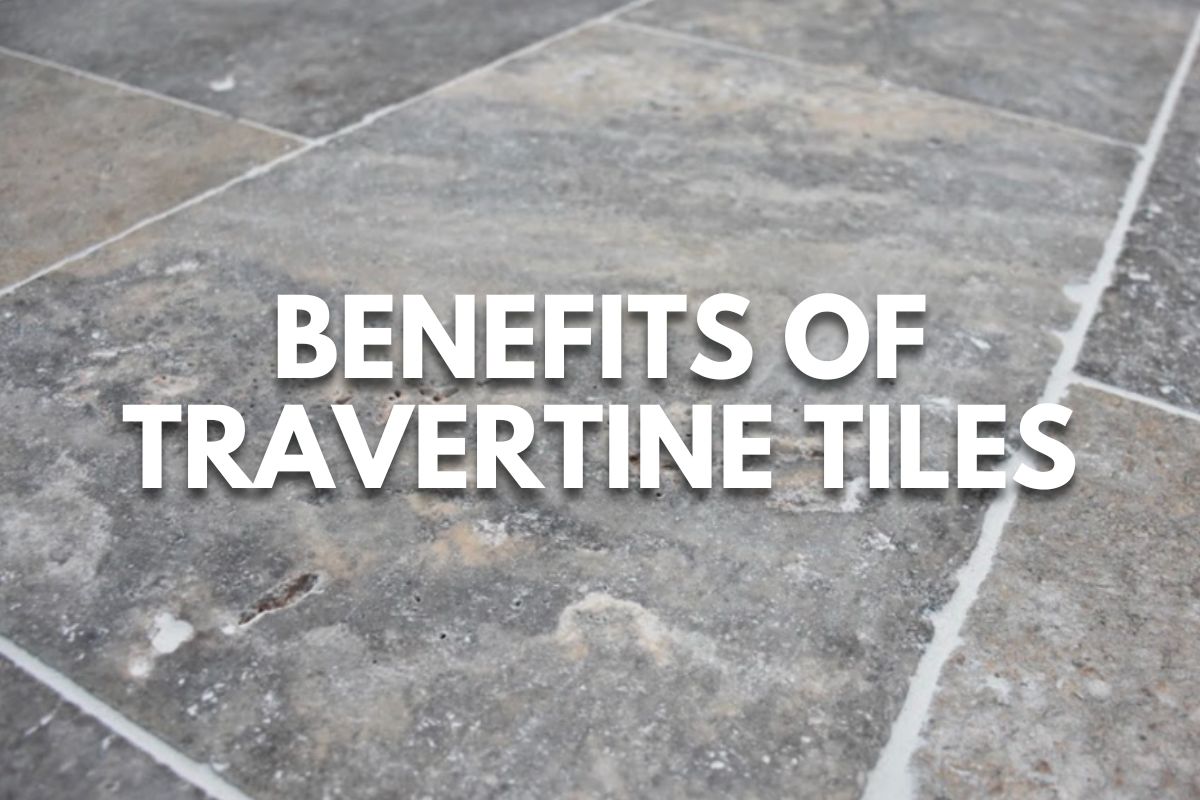
Travertine tiles offer a range of benefits that make them a preferred choice for flooring and decorative applications:
- Aesthetic Appeal: Travertine boasts a timeless beauty with its natural, earthy tones and distinct porous patterns, adding a touch of elegance and warmth to any space.
- Versatility: These tiles come in a variety of colors, sizes, and finishes, including polished, honed, brushed, and tumbled, allowing for a wide range of design possibilities. This versatility makes travertine suitable for different settings, from rustic to modern.
- Durability: Despite its porosity, travertine is exceptionally durable and capable of withstanding significant wear and tear if properly maintained. This makes it ideal for high-traffic areas like living rooms, hallways, and outdoor spaces.
- Natural Insulator: Travertine has good insulating properties, helping to keep areas cooler in the summer and warmer in the winter, which can contribute to energy savings.
- Increase in Property Value: Installing travertine flooring can potentially increase the resale value of a property due to its premium look and long-lasting nature.
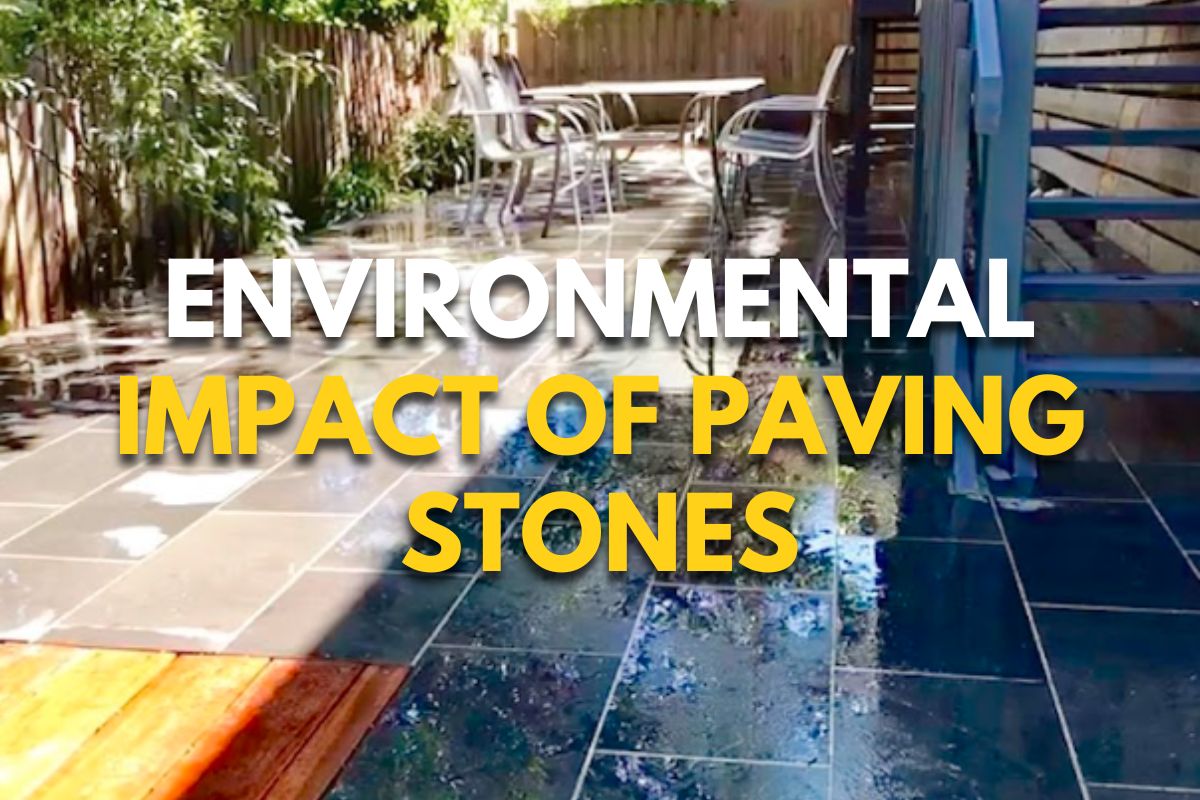
- Eco-Friendly: Being a natural stone, travertine is an environmentally friendly option compared to manufactured materials. Its extraction and processing have a lower environmental impact than other stones.
- Ease of Repair: Unlike some other flooring options, damaged travertine tiles can be easily replaced without having to redo the entire floor, making maintenance simpler and cost-effective over time.
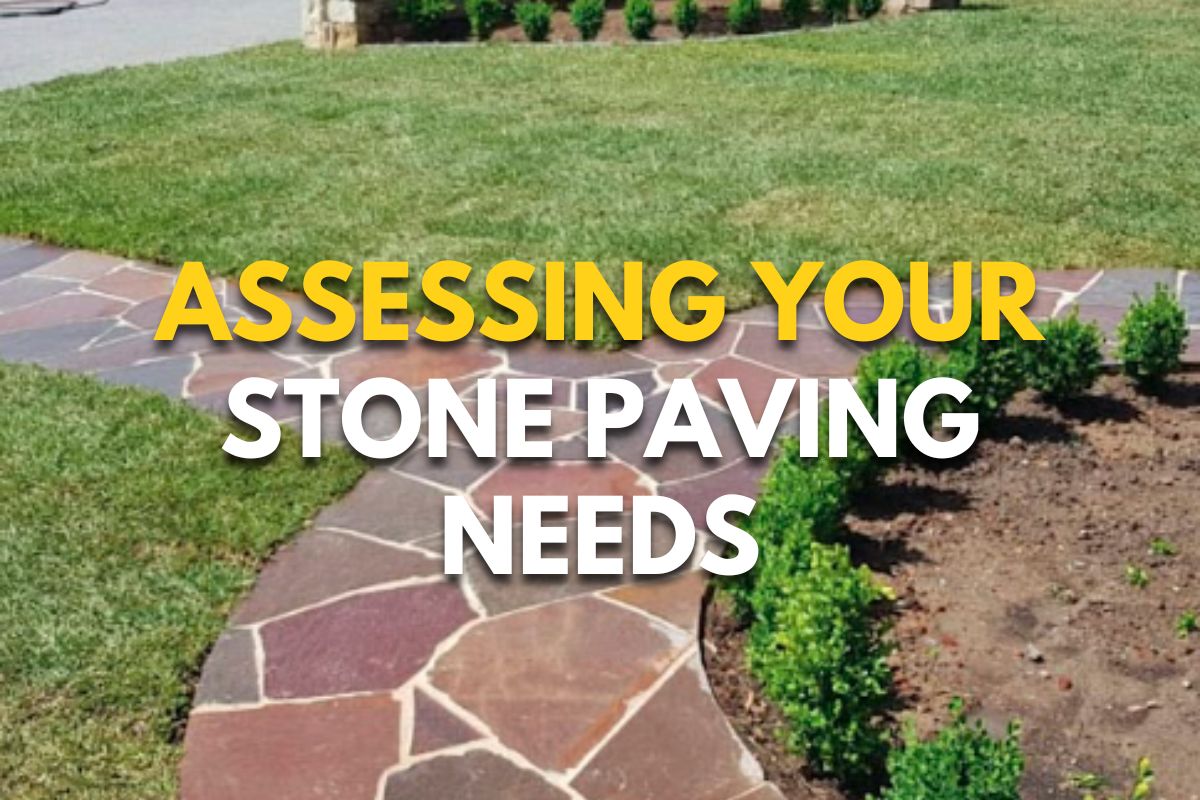
Factors to Consider When Buying Travertine Tiles
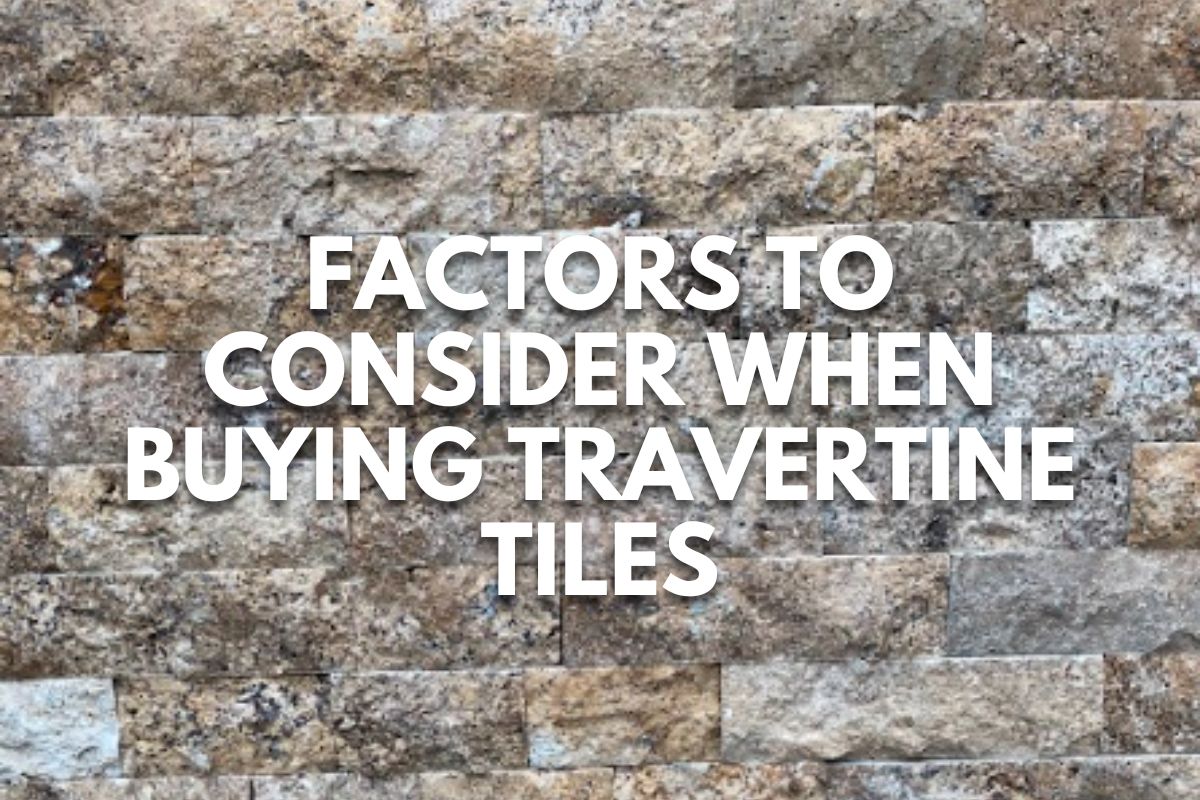
When purchasing travertine tiles, several critical factors must be considered to ensure the right fit for your project:
- Quality of the Stone: Assess the quality, which can vary based on porosity and the presence of impurities. High-quality travertine has fewer holes and consistent coloration, indicating stronger structural integrity.
- Finish Type: Choose from polished, honed, brushed, or tumbled finishes. Each offers different aesthetic appeals and traction levels, so consider the intended use and location (e.g., wet areas might require more textured finishes for safety).
- Color Consistency: Travertine can vary dramatically in color, even within the same batch. It’s important to view multiple samples to ensure the color and pattern consistency matches your project requirements.
- Tile Thickness: Thicker tiles offer more durability and are less prone to breakage during installation and over time. Standard thicknesses range from 0.5 to 0.75 inches.
- Installation Requirements: Be aware that travertine tiles require sealing to prevent stains and facilitate easier cleaning. Consider the cost and maintenance commitment of sealing as part of your purchasing decision.
- Cost: Prices can vary based on the tile’s quality, finish, and size. Budget accordingly, keeping in mind that investing in higher quality tiles can reduce long-term maintenance costs.
- Sourcing: Opt for reputable suppliers who provide product guarantees and can verify the ethical sourcing of their stone, ensuring environmental and social responsibilities are upheld..
Where to Buy Travertine Tiles
When looking to purchase travertine tiles, it’s essential to choose the right supplier to ensure quality and value. Here are several avenues to consider:
- Local Tile and Flooring Stores: These outlets typically offer a range of travertine tiles and provide the advantage of viewing the product in person. Staff can offer advice on suitability and maintenance, and often provide installation services.
- Specialized Stone Suppliers: These suppliers focus exclusively on natural stones, including travertine. They often boast a broader selection and deeper expertise in high-quality stone products.
- Online Retailers: Websites like Splendour in Stone, BuildDirect, Wayfair, and TileBar offer extensive selections of travertine tiles. Purchasing online often provides competitive pricing and convenient home delivery, and at Splendour in Stone we provide samples to verify color and quality for our customers before they make a large purchase.
- Wholesalers: For larger projects, buying directly from a wholesaler can significantly reduce costs. Wholesalers may require a minimum purchase amount but will offer lower prices per unit.
- Importers: Direct importers of travertine can offer unique varieties and competitive prices by cutting out the middleman. Ensure they adhere to ethical sourcing and quality assurance practices.
Expert Tips for Choosing the Right Supplier
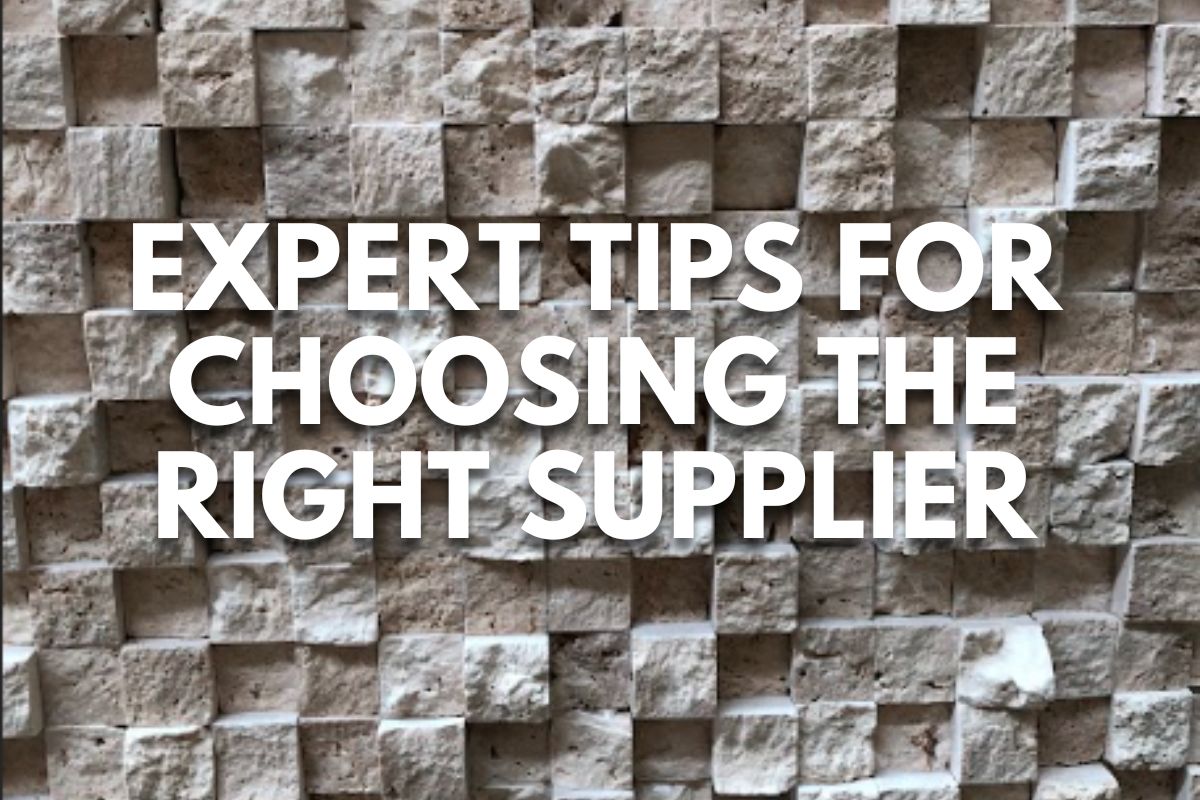
Selecting the right supplier is crucial when purchasing travertine tiles. Here are expert tips to help you make an informed choice:
- Research Reputation: Start by checking the supplier’s reputation. Look for online reviews, testimonials, and feedback on platforms like Google, Yelp, or industry-specific forums.
- Assess Quality Assurance: Ensure the supplier offers high-quality travertine. Request details on the origin of the stone and any quality certifications or standards they adhere to. High-grade travertine should have uniform color and minimal fill.
- Evaluate Product Range: A good supplier should offer a variety of travertine tiles in different colors, sizes, and finishes. The broad selection at Splendour in Stone allows you to choose products that best fit your design needs.
- Consider Customer Support: Strong customer service is indicative of a reliable supplier. They should provide comprehensive support, from product inquiries to after-sales service, including installation advice if necessary.
- Check Pricing and Policies: Compare prices with other suppliers to ensure you’re getting competitive rates. Also, review their return policy and warranties. It’s beneficial to choose a supplier who offers guarantees on their products, which reflects confidence in their quality.
- Visit In-Person: If possible, visit the supplier’s showroom or warehouse. This allows you to physically inspect the travertine tiles and discuss your project’s requirements directly.
Additional Services and Benefits (Unique features or advantages)

When purchasing travertine tiles, exploring additional services and unique benefits offered by suppliers can greatly enhance your buying experience and project outcome:
- Design Consultation: Some suppliers provide expert design consultations. This service can be invaluable in helping you select the perfect travertine tiles that fit both your aesthetic and functional needs, ensuring that all aspects of the space’s design harmonize beautifully.
- Customization Options: A few suppliers might offer customization services such as cutting tiles to specific dimensions or creating custom finishes. This flexibility allows for personalization in your project, fitting exact design specifications and unique space requirements.
- Installation Services: Choosing a supplier that offers professional installation can guarantee that the travertine is laid properly, which is crucial for its longevity and appearance. Proper installation reduces the risk of damage and ensures optimal performance of the tiles.
- After-Sales Support: Reliable after-sales support, including maintenance advice and assistance with any post-installation issues, adds significant value. This ensures your investment is protected and maintains its beauty over time.
- Volume Discounts and Loyalty Programs: Suppliers often provide discounts for large orders or incentives through loyalty programs, which can be beneficial for extensive projects or future renovations.
Customer Testimonials and Reviews

Customer testimonials and reviews are vital resources when selecting travertine tiles, offering insights into the quality of both the product and the supplier’s service. Here’s what to look for and consider:
- Authenticity and Detail: Focus on reviews that provide specific details about the quality of the travertine tiles, the buying experience, and the installation process. Authentic reviews often include both pros and cons, offering a balanced view that helps anticipate potential issues.
- Volume of Reviews: A higher number of reviews can indicate a well-established supplier with a broad customer base. This often translates to reliability and experience in the industry.
- Response to Feedback: Pay attention to how suppliers respond to both positive and negative reviews. A supplier that actively engages with customer feedback and addresses concerns demonstrates commitment to customer satisfaction and service quality.
- Before and After Photos: Reviews featuring before and after photos can visually demonstrate the transformation achieved with the tiles, providing a tangible sense of the results you might expect.
Tips for Successful Flooring Projects with Travertine Tiles
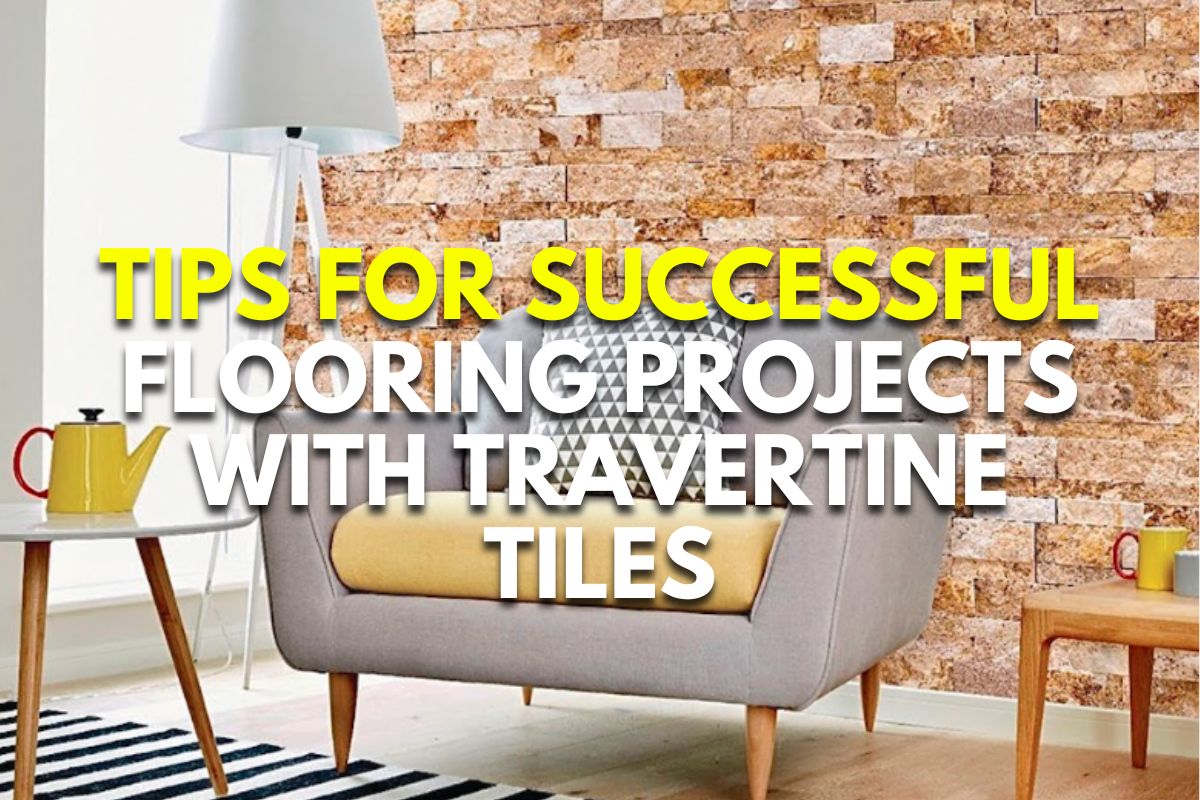
To ensure success in your flooring project with travertine tiles, consider the following essential tips:
- Proper Selection: Based on traffic levels and exposure to moisture, choose the right type of travertine tile for your space. For better traction in high-traffic or wet areas, select tiles with a honed or brushed finish.
- Pre-Installation Planning: Measure the area accurately and order 10-15% more tiles than needed to account for cuts and potential breakage. Arrange tiles before installation to mix and match variations in color and pattern for a more natural look.
- Professional Installation: Although DIY installation is possible, hiring professionals like Splendour in Stone ensures that the tiles are installed correctly. Professionals can handle the unique challenges of travertine, such as proper aligning, leveling, and spacing.
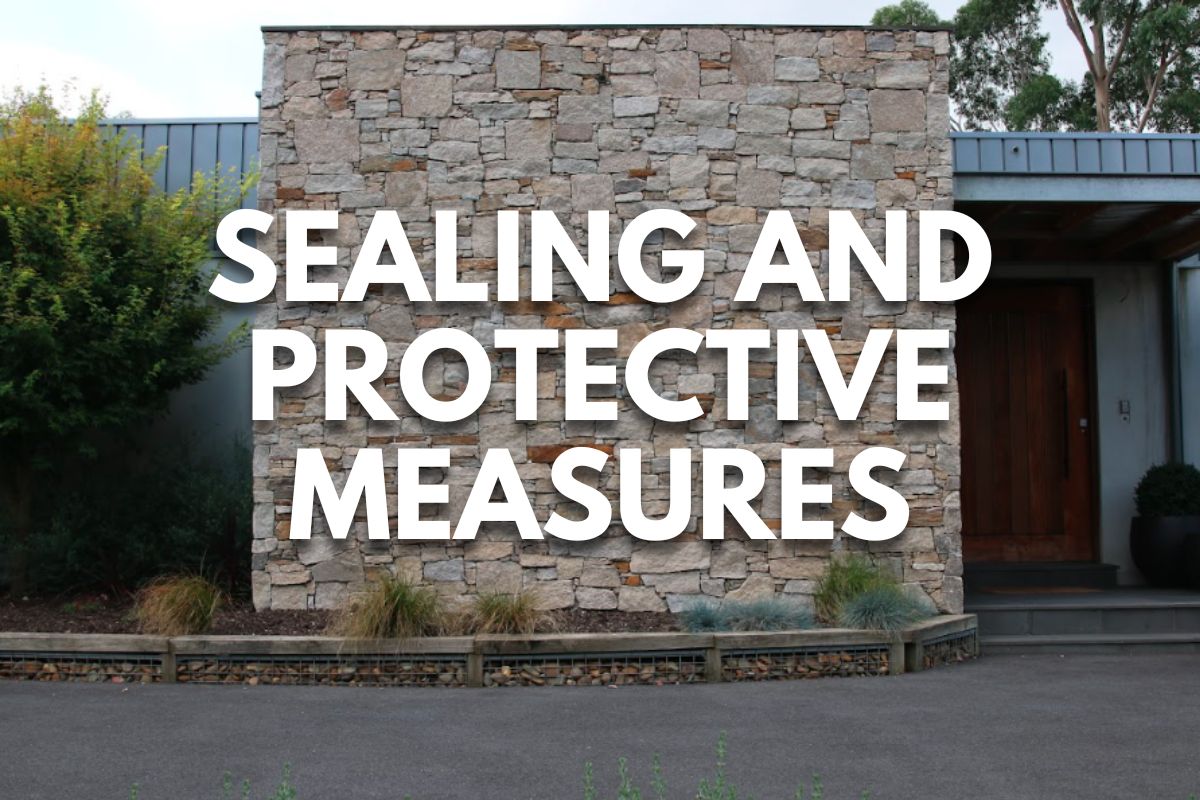
- Sealing the Tiles: Travertine is porous, so applying a high-quality sealant is crucial to protect the stone from stains and moisture. Seal the tiles before and after grouting and follow up with regular resealing based on the manufacturer’s recommendations.
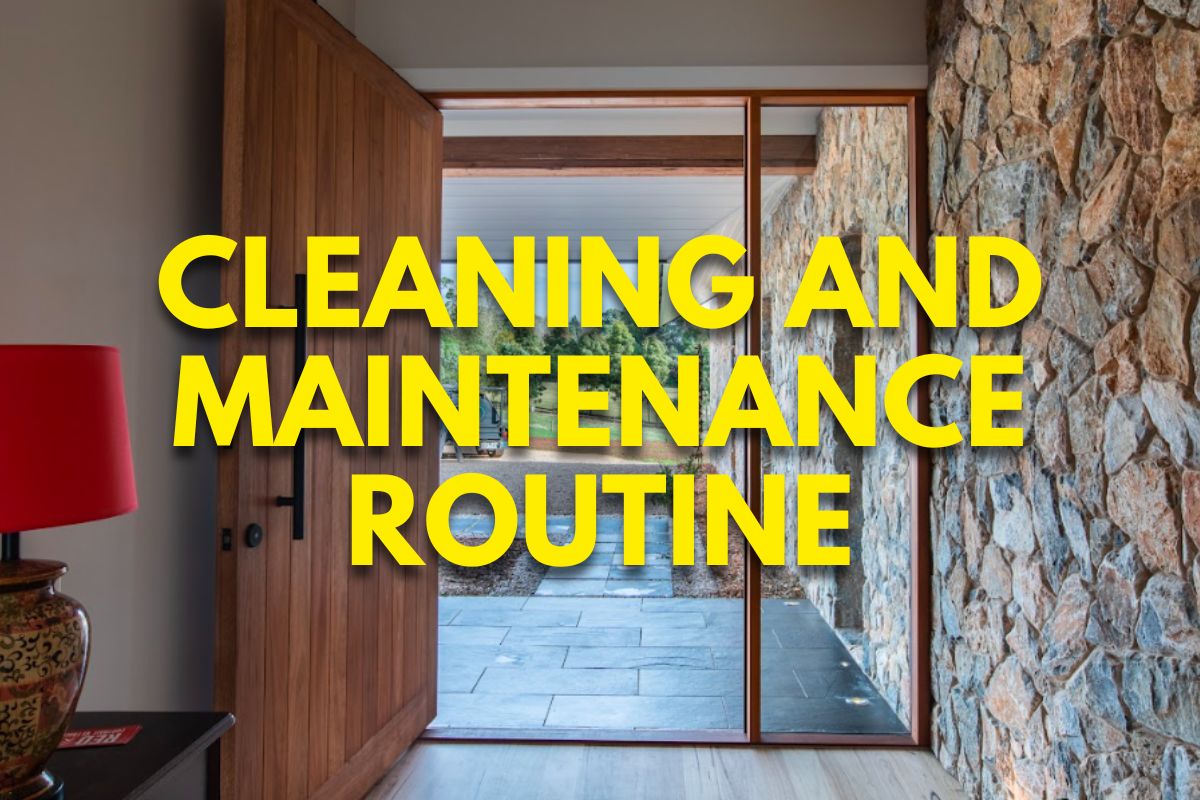
- Regular Maintenance: Use a pH-neutral cleaner for regular cleaning to avoid damaging the stone. Avoid using vinegar, bleach, or ammonia-based cleaners, as these can etch the surface.
- Immediate Spill Response: Clean spills immediately to prevent staining, especially from acidic substances like wine or coffee..
Conclusion
Travertine tiles offer unmatched natural beauty and lasting durability, making them a top choice for enhancing any space. To transform your floors with the elegance and resilience of travertine, explore our curated selection and take the first step toward elevating your home or business.
Visit our showroom or contact us today to start your journey with travertine.